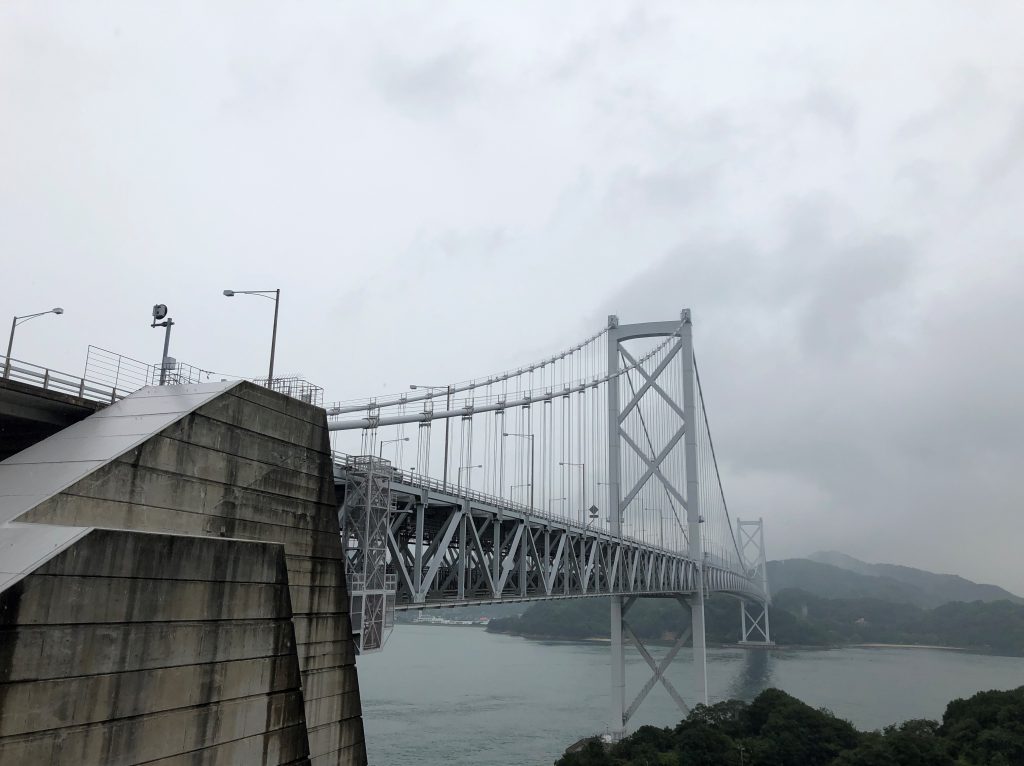
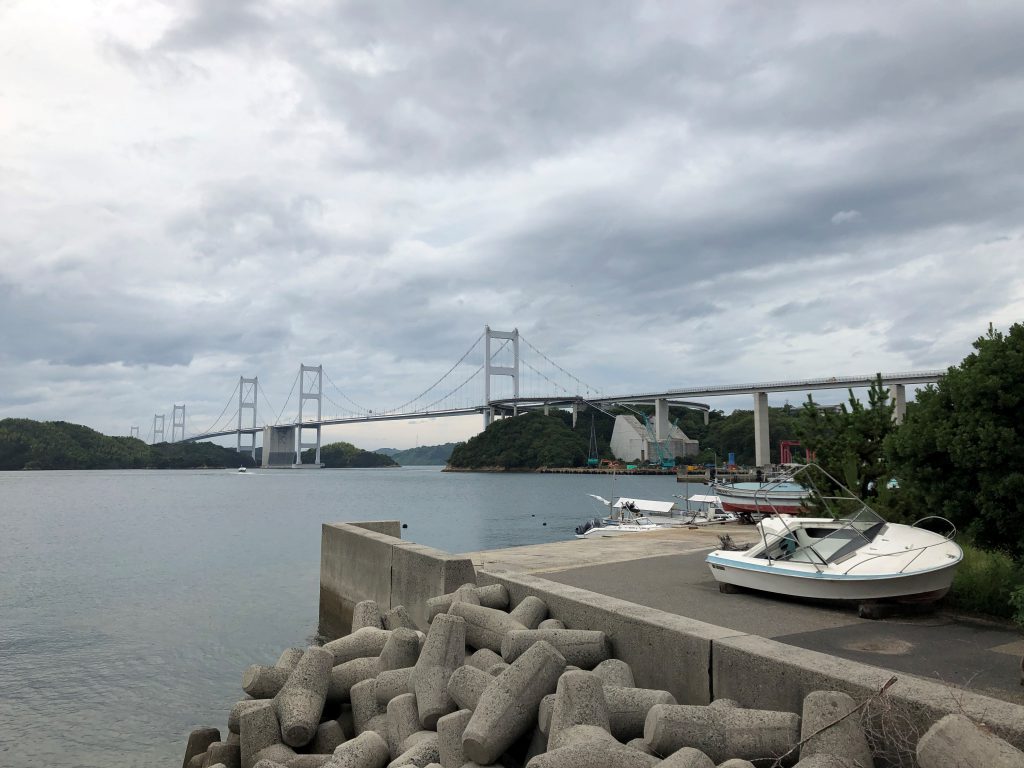
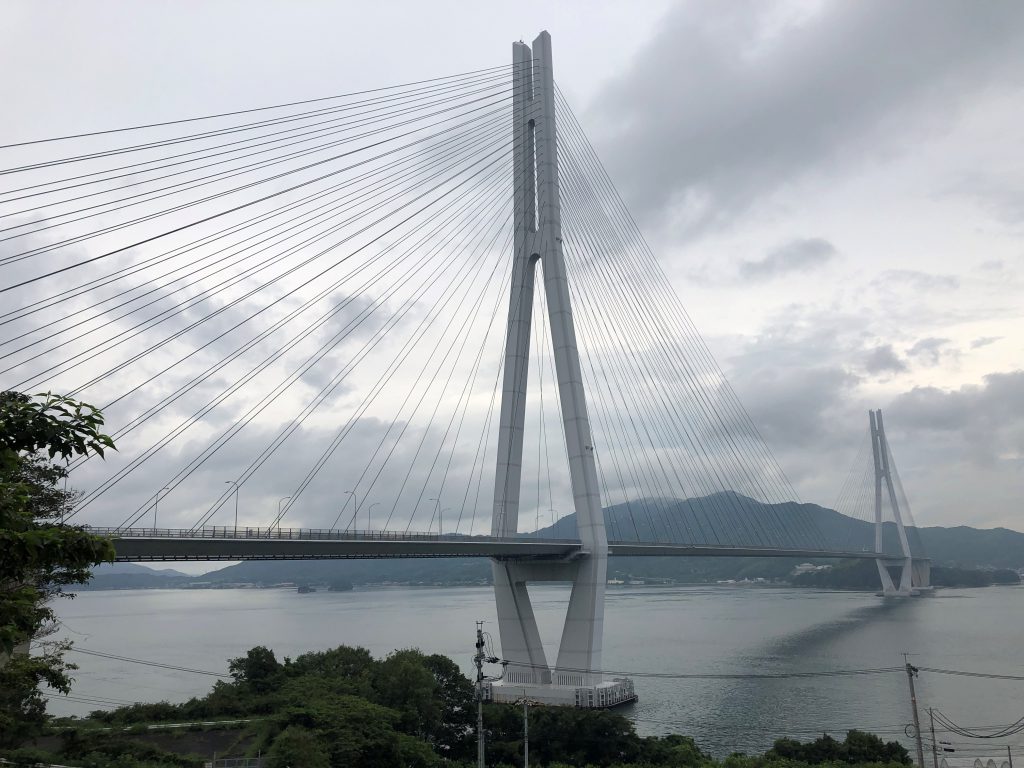
Seventy kilometers, six scenic islands, six massive bridges, and two prefectures—all woven together by a single blue line. This is the Shimanami Kaido: Japan’s premier long-distance cycling route.
There are countless articles and videos that cover this internationally popular tourist destination. It’s convenient to have so many resources, but when I was planning my own cycling adventure, I suffered from information overload. I wasn’t sure exactly where to start or what to expect, and I ended up taking a few leaps of faith to make my trip a reality.
Therefore, with this article, I’m laying out a foolproof plan for your first Shimanami Kaido adventure. Follow the tips and sample itinerary in this article, and you are guaranteed to have the time of your life as you casually cycle through some of Japan’s most beautiful tropical scenery.
Preparing for your Journey: The Basics
Before you start reserving bikes, hotels, and Shinkansen tickets, you need to determine how long your trip will be and how much luggage you’ll need to bring. Here are my suggestions for your first trip:
- Experienced cyclists can easily complete the 70-kilometer course in a single day. However, for your first time, I recommend spreading your cycling across two days and earmarking three days for the entire trip (assuming that you are coming from and returning to Tokyo). You should allow plenty of time for taking photos, meeting fellow travelers, and enjoying local cuisine.
- Although it’s possible to have excess luggage shipped ahead to your destinations, it’s best to simply travel light and avoid the extra cost and hassle. If you stick to the aforementioned three-day plan, a well-packed 20-liter backpack should be more than enough to comfortably traverse the islands of the Seto Inland Sea.
Island Essentials
Regardless of your packing preferences, there are a few essential items that every traveler should bring on their Shimanami Kaido excursion (beyond the obvious items like your passport, cell phone, etc.):
- A raincoat (something simple from your favorite convenience store will do just fine)
- Sunglasses
- Sunscreen
- A small first-aid kit
- A refillable water bottle (just for emergencies or additional hydration—there are plenty of convenience stores and vending machines on the route)
- A flashlight or headlamp
Logistics
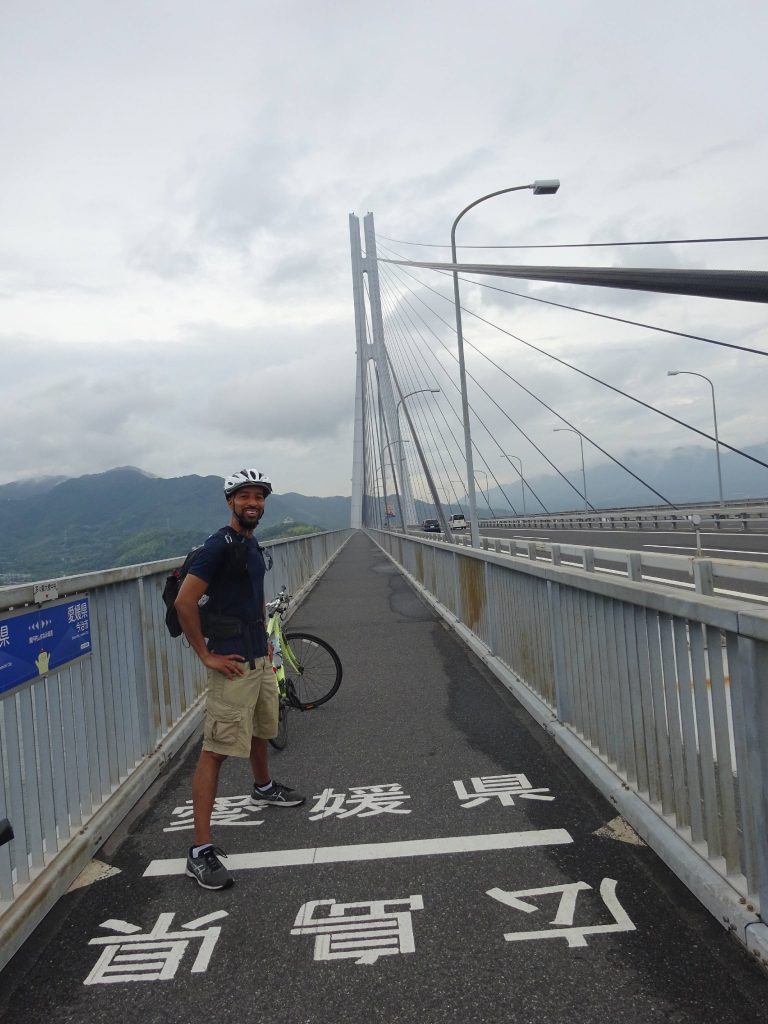
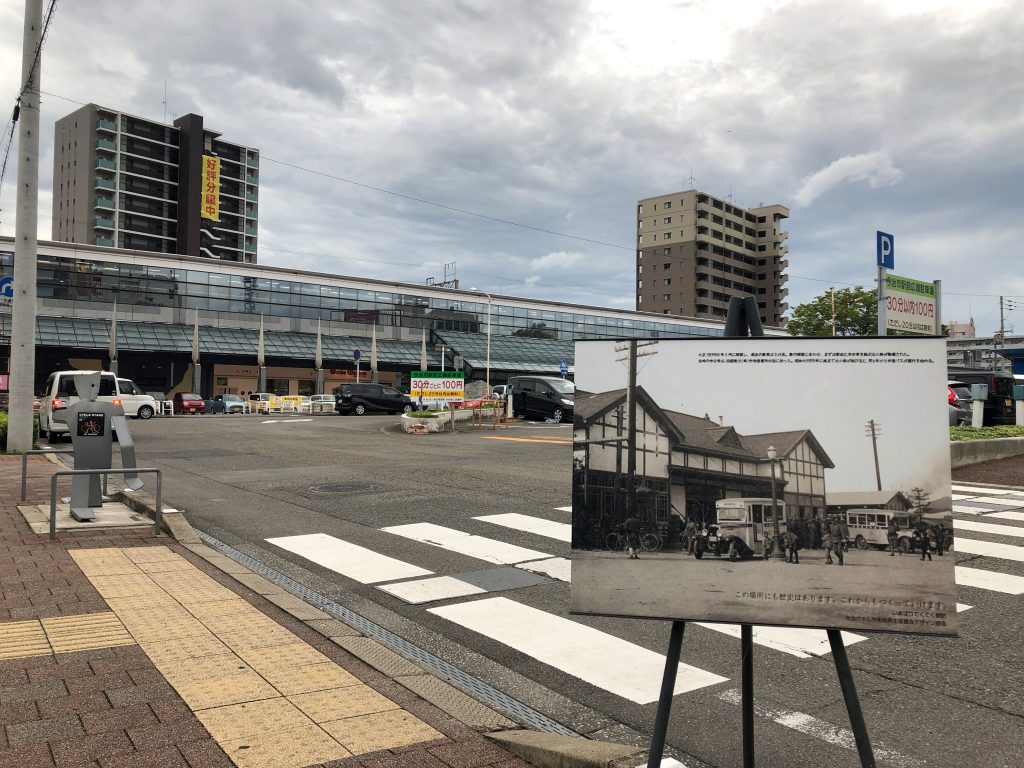
Now that you know how long you’ll be traveling and how much luggage you’ll be bringing, it’s time to figure out the nuts and bolts of reaching the Shimanami Kaido, which straddles Hiroshima and Ehime prefectures. The Shimanami Kaido connects the cities of Onomichi (Hiroshima Prefecture) and Imabari (Ehime Prefecture). Imabari is located on Shikoku, one of the four main islands that make up Japan.
Although you could fly from Tokyo to Hiroshima Airport and take busses to either Onomichi or Imabari, your best bet is taking the Shinkansen from Tokyo to Fukuyama. From there, you’re only a quick local train ride away from Onomichi or a bus ride away from Imabari.
Conventional wisdom suggests starting in Imabari. The typical wind direction works in your favor and the slopes in that direction aren’t as steep. That being said, I prefer starting in Onomichi.
The bus route from Fukuyama to Imabari includes the Shimanami Kaido, thus spoiling some of the surprises of your cycling adventure. It’s more satisfying to take the bus from Imabari to Fukuyama on the backside of your cycling trip as a way to reminisce and reflect on the journey of a lifetime.
For most cyclists, the slightly steeper slopes of the Onomichi-Imabari direction won’t be a problem. Additionally, if you start in Onomichi, you can get off of public transportation faster which gives you more precious daylight for your first day of cycling. The itinerary near the end of this article will give you a clear idea of how all of this works.
Where to Stay along the Way
The next thing you’ll need to decide is where you’ll spend two nights during your journey. Ryokan Suminoe is a favorite among cyclists from all over the world and is an excellent way to enjoy a traditional Japanese lodging experience. It’s located about 30 kilometers into your journey, which is perfect if you’re following the advice given above. Your first day on the Shimanami Kaido is short, so it’s ideal to settle in for the evening well before the halfway point.
If you’re budget conscious, Ryokan Suminoe may be a little expensive. Fortunately, there are plenty of accommodations along the Shimanami Kaido, including everything from campsites to hostels. Ideally, your second hotel will be in Imabari, your final destination. There are plenty of options near the station. I opted for the Imabari Urban Hotel, a pleasant, convenient business hotel. However, if you prefer a more communal experience, consider Shimanami Guesthouse Cyclonoie.
What about Bicycles?
Now that we’ve covered the groundwork for your trip, let’s talk about bikes. As your excursion takes you beyond the warm embrace of urban Onomichi, you and your bicycle will become inseparable. Therefore, you’ll need to select your ride with the utmost care. You have two options for point-to-point bike rentals: Shimanami Japan (a government affiliated non-profit organization) or Giant (privately operated by Giant Bicycles).
Shimanami Japan is affordable (3,000 yen for a two-day, point-to-point trip) and has an incredibly convenient network of rental stations dotting the entire Shimanami Kaido. If you ever have a problem or need to turn in your bike before making it to Imabari, you’re never far from a rental station. On the other hand, many of Shimanami Japan’s bikes have seen better days, with the biggest problems originating from the gear shifters and derailleurs. Thankfully, if you do have a critical issue, you’re only a phone call and a 30-minute wait away from assistance (most likely in the form of a bike swap).
Pro tip: thoroughly test your bike in Onomichi before embarking on your journey, paying special attention to the gears and shifters.
Going with Giant will ensure that you have the best possible equipment. That being said, Giant bike rentals are priced accordingly, with their most affordable option starting at 11,000 yen for a two-day, point-to-point trip. Additionally, there are only two locations to rent and return your bike, one on each end of the 70-kilometer Shimanami Kaido. So, if you rent a Giant bike, plan on completing the route no matter what. If you get a flat tire, you’ll need to repair it yourself or find a local bike shop on one of the Shimanami Kaido’s six islands.
Overall, I was pleased with Shimanami Japan, especially considering their stellar customer service. As an avid cycler, however, I do plan to give Giant a try on a future trip.
Consider the information above, and decide what works for your experience level and budget. Once you’ve made your decision, be sure to make a reservation well in advance—bikes can be limited during the peak seasons such as Golden Week.
Finally, It’s Time to Hit the Road
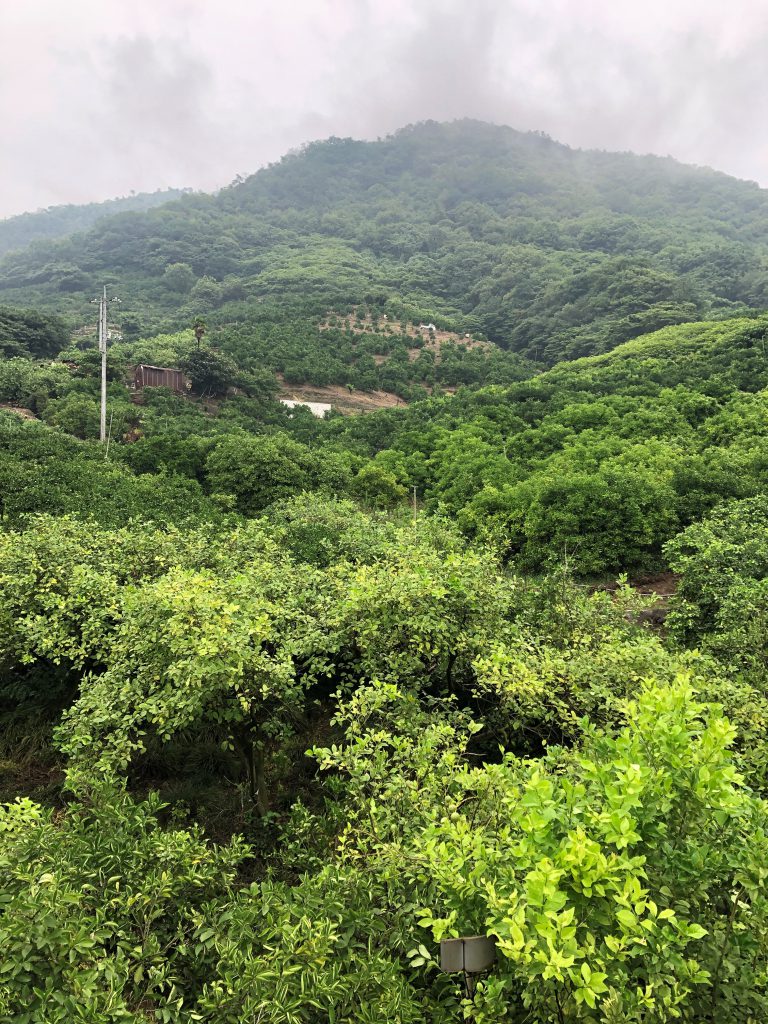
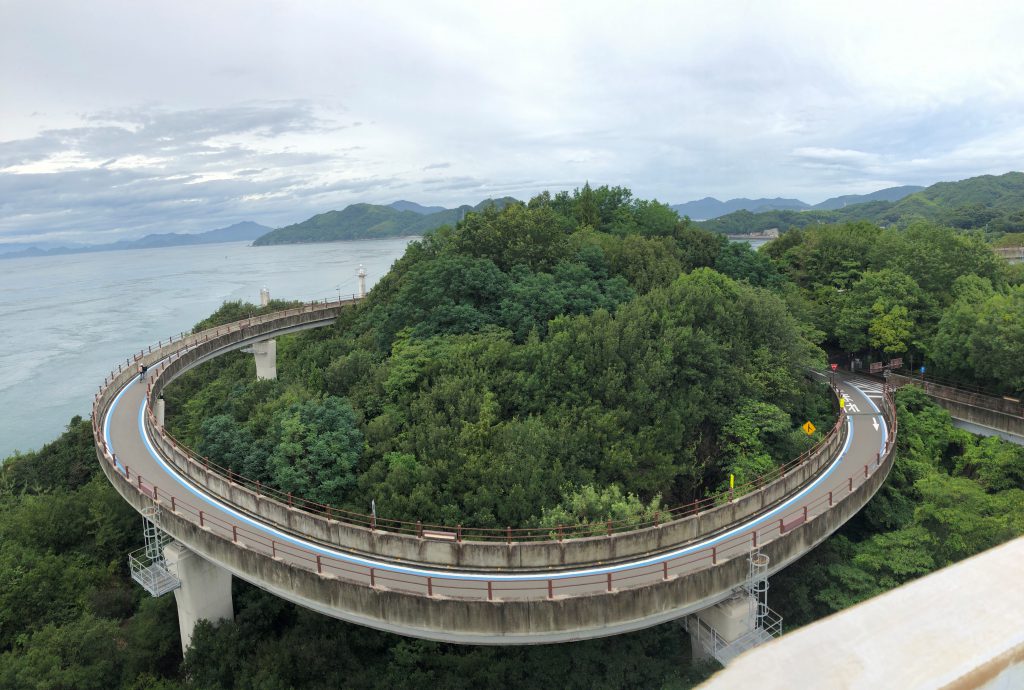
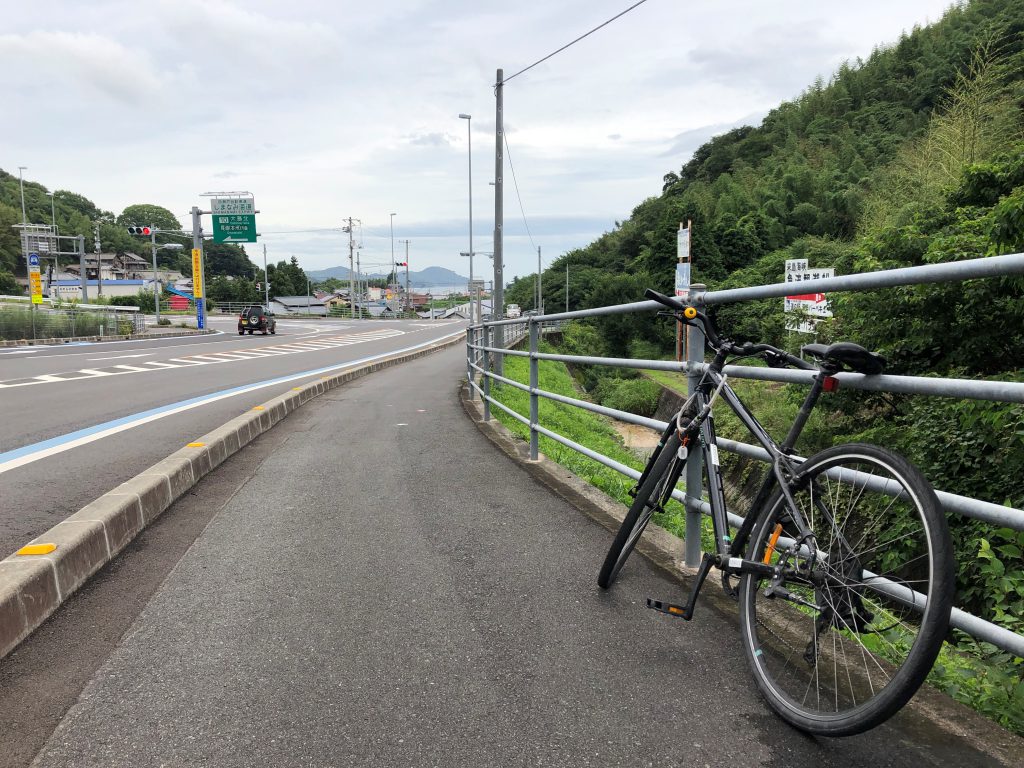
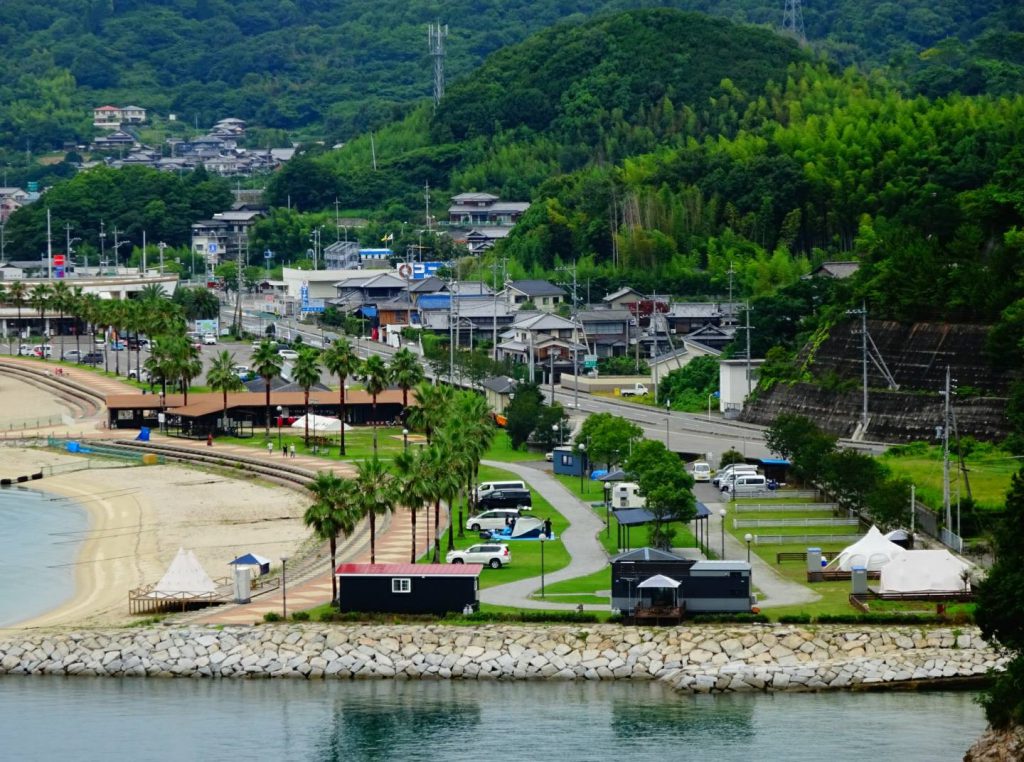
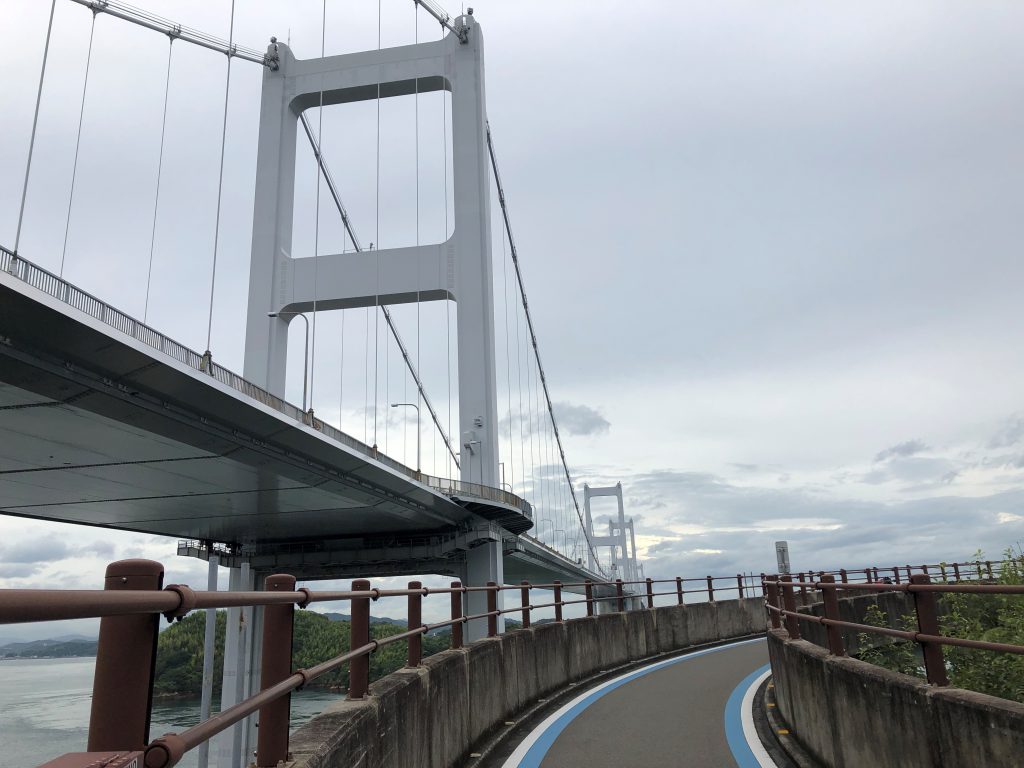
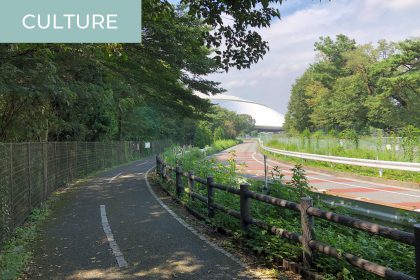
You may have noticed that I haven’t mentioned anything about navigating the islands. Well, I’ve saved the best tidbit of information for last. Although Shimanami Kaido is technically a highway, it is also a purpose-built cycling course marked by a single blue line that effortlessly leads you through 70 kilometers of seaside parks, verdant orchards, and architecturally marvelous bridges. There’s no need to worry about sneaking glances at Google Maps while you’re riding. Simply shift into a comfortable gear and enjoy the breathtaking island scenery. The blue line that links Onomichi to Imabari will take you exactly where you need to go.
Additional Advice (Q&A)
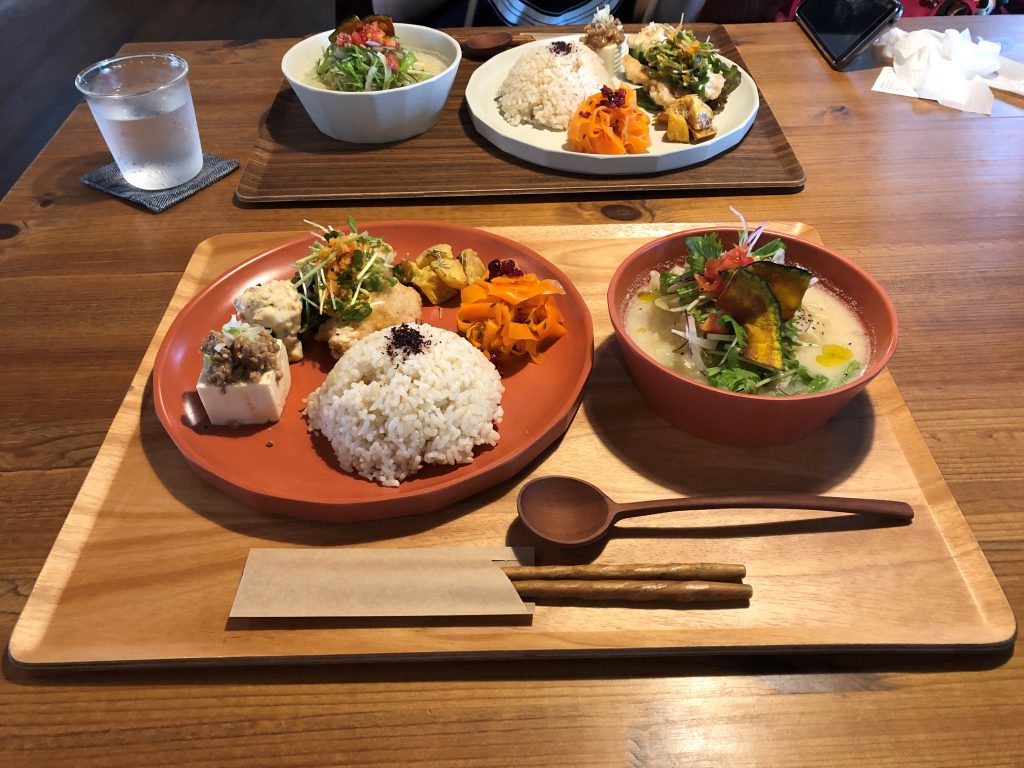
- Where can I get food? From pancakes perfect for carb-loading to beautifully arranged organic lunches, you can find almost anything along the blue line of the Shimanami Kaido. There are also plenty of vending machines and convenience stores on the route, so feel free to simply enjoy a bento lunch on the beach. Here are a couple of the highlights from my trip:
- Keima (sushi)
- Toribayashi (Imabari-style Yakitori)

- What do I do if I can’t complete the course due to weather or illness? Fortunately there are several bus and ferry stops throughout the route, so if you ever need to turn back (or skip forward), you have plenty of ways to reach the mainland. If you have any doubts about completing your journey, it’s best to rent a bike from Shimanami Japan so that you’ll be able to return it at one of their rental stations throughout the island route.
- What if I want to use my own bike? You can bring your bike with you from Tokyo via the Shinkansen and the local JR Sanyo Line train, but you’ll need to use a bike bag. Additionally, you’ll need to be careful about where you place your bike and be mindful of other passengers. Check out this video for a concise explanation of how to properly transport your bike on the Shinkansen and local trains.
Sample Itinerary
Day 1:
7:00 a.m.: Travel from Tokyo to Onomichi via Shinkansen (transfer to the local JR Sanyo Line at Fukuyama Station)
12:00 noon: Cycle from Onomichi Port to Ryokan Suminoe (with stops for lunch, snacks, and photos)
4:00 p.m.: Check in at Ryokan Suminoe
6:00 p.m.: Sushi dinner at Keima
Day 2:
8:00: a.m.: Breakfast at Ryokan Suminoe (be sure to make a reservation in advance)
10:00 a.m.: Cycle from Ryokan Suminoe to Yoshiumiikiikikan Rest Area
1:00 p.m.: BBQ Lunch at Yoshiumiikiikikan Rest Area
2:00 p.m.: Resume cycling toward Imabari
4:30 p.m.: Return bikes at Imabari Station (if you arrive after 5 p.m., you can return your bike at Imabari City Hall)
5:00 p.m.: Arrive at Imabari Urban Hotel
6:00 p.m.: Imabari-style yakitori dinner at Toribayashi
Day 3
9:00 a.m.: Travel from Imabari to Fukuyama Station via highway bus
11:00 a.m.: Take the Shinkansen from Fukuyama Station to Tokyo
2:30 p.m.: Arrive in Tokyo
Now It’s Your Turn
Now you have everything you need for a worry-free, island-hopping cycling adventure. Remember that this is just one of countless possible ways to experience Japan’s most famous long-distance cycling route. Once you hit the road, explore to your heart’s content, and when you return, let us know what you discovered.

2 Comments
Kelly
July 24, 2021 at 6:24 PMThis cycle-how-to is sooo perfect. And all pricing too. Thank you so much for sharing and giving us a magnificent goal to Look forward to. Your guide makes it so stress free. Can people swim at the beaches?
Anthony Griffin
July 26, 2021 at 3:03 PMHello Kelly,
Thanks for reading and sharing your feedback! I’m pleased to hear that the “how-to” style of the article was helpful. Regarding your question, although I didn’t go swimming on this particular trip, there are plenty of places to do so. Perhaps the most popular and accessible would be Setoda Sunset Beach, about halfway through the route. If you give it a try, do let us know how it goes!
Best,
Anthony